This post was last updated on December 3rd, 2022 at 07:42 pm
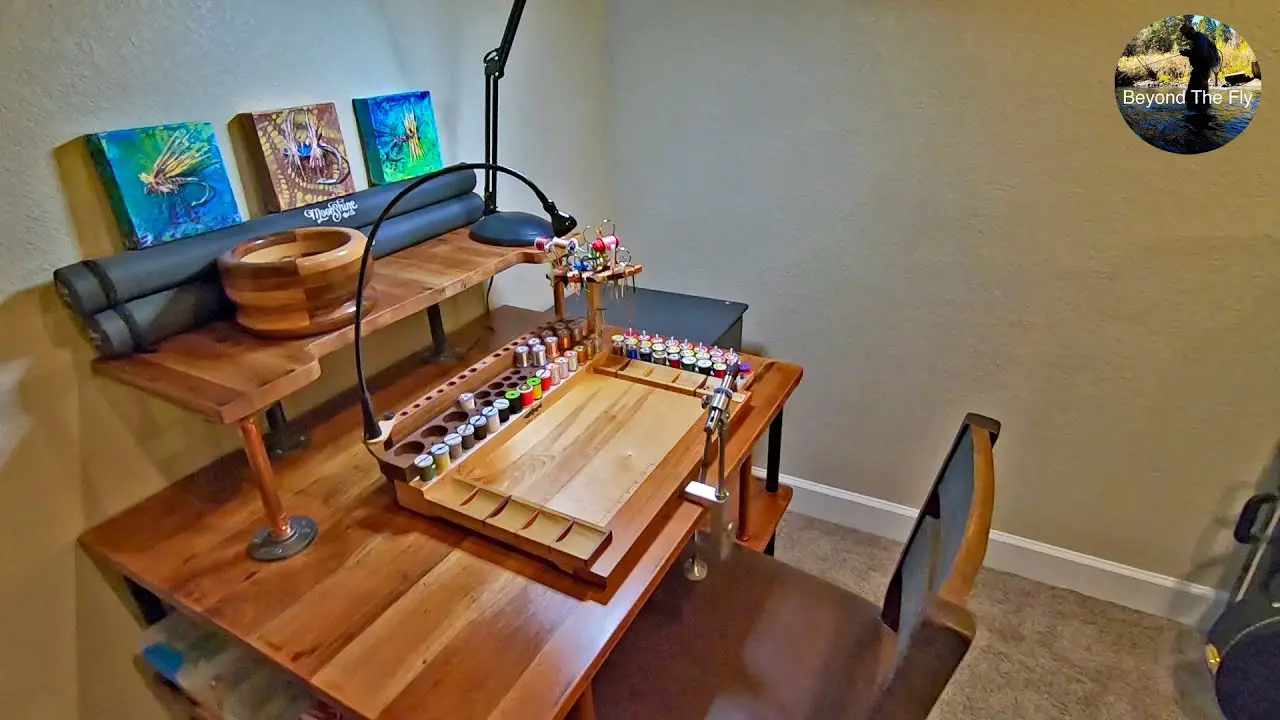
If you enjoy fly fishing and tying flies, then having the best fly tying desk for you is a must. This article will give you the need to know information about desks for fly tying including benefits of using them vs. not using one, what makes a good desk for fly tying and more.
What is a Fly Tying Desk?
A fly tying desk is a table or other surface specifically designed for the purpose of fly tying. They can be generic or made specifically for fly tying. There are many benefits to having a fly tying desk, which we will discuss later in this article.
Fly tying desks are typically more expensive than other types of desks because of the materials used to make them are more expensive. They are usually made out of solid, high quality wood that is clear coated or stained for appearance and durability. Some fly tying desks are made out of an assortment of woods combined together to create a unique look.
Those who tie their own flies typically have a fly tying desk in their home workshop. However, they can also be found in commercial fly fishing shops as well.

Generic Desk Vs. Fly Tying Desk
There are many benefits to using a fly tying desk vs. a generic desk for tying flies. The main benefit is that a fly tying desk is specifically designed for the purpose. It has features that a generic desk does not have. Some of the features include peg board for fly tying tools, drawers to store fly tying materials and more.
Here are some key features of a fly tying desk that you should look for:
Peg Board Space for Tools
Proper peg board space is a key feature of a good fly tying desk. There should be enough space to place all the tools you need close at hand. At a minimum, there should be space for common tools such as bobbin holders, scissors, precision forceps and thread clippers.
Drawers to Store Fly Tying Materials
There should be enough drawers to store all of your fly tying materials. This will keep them organized and easy to find when you need them. Drawers should be labeled to make it easy to find what you are looking for.
Stain Resistant Wood
The desk should be made out of a wood that is resistant to staining. This is important because fly tying materials often contain dyes and other chemicals that can stain the wood.
Non Slip Surface
The surface of the desk should be non slip. This is important to prevent your tools and materials from sliding off the desk while you are tying flies.
Angled Vise Surface
An angled vise surface is another key feature of a good fly tying desk. This allows you to tie flies at an angle that is comfortable for you. This is important because tying flies can take time. Being stuck in an uncomfortable position can reduce the quality of your flies and also cause long term damage to your hands and wrists.
Lighting
Good lighting is also important when tying flies. The desk should have a light source so you can see what you are doing.
The Benefits of Using A Desk For Fly Tying
There are many benefits to using a fly tying desk. Some of the biggest benefits include organization, durability and comfort.
Having your materials organized will make it easier for you to tie trout flies that are durable and of high quality. You should be able to find everything that you need quickly when you need them. This will save you time and frustration.
A good fly tying desk is also durable. It is built to withstand the wear and tear that comes with fly tying. This means that it will last for many years.
Finally, a fly tying desk is comfortable to use. It has features such as an angled vise surface and proper lighting that make it easy to tie flies while being comfortable.
How To Build A Fly Tying Desk
The easiest way to build a fly tying desk is by following the steps below. These are general instructions for building a fly tying desk using easily accessible materials found at your local hardware store and online. It can be customized to meet your specific needs.
- Start by finding a good quality desk that has the design you are looking for. Ensure that there is enough space to store fly tying materials and tools.
- Next, make sure the desk is sturdy by checking it with one hand on each side of the center leg. Also check that it does not wobble when pushed or pulled with both hands on the table top.
- Ensure that the desk is the correct height for you by measuring the distance from your elbow to the floor. If the desk is not the correct height, you can adjust it by adding or removing material from the legs, but I would recommend finding another desk unless you really love the one you’re looking at.
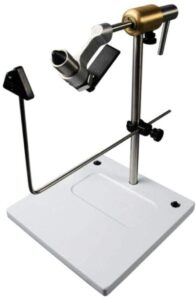
- The next step is to attach a vise to the desk. There are many different types of vises available. Choose one that works for you and is compatible with your desk. I like the Peak Rotary vise.
- Install a light source that will provide enough lighting to see what you are doing.
- Label all of the drawers with file folders and index cards so you know where everything is stored. This will ensure that you can find items quickly as well as reduce frustration.
Key Takeaways – How to Build a Fly Tying Desk
Fly tying desks are a great way to organize your tools and materials, which can make it easier for you to tie flies. This article has provided some tips on how to build the best fly tying desk that meets all of your needs. It also showed you what considerations should be made before purchasing a fly tying desk so that you get one that is durable and comfortable. Fly tyers who want more organization in their lives will find these steps invaluable!

