This post was last updated on December 3rd, 2022 at 07:42 pm
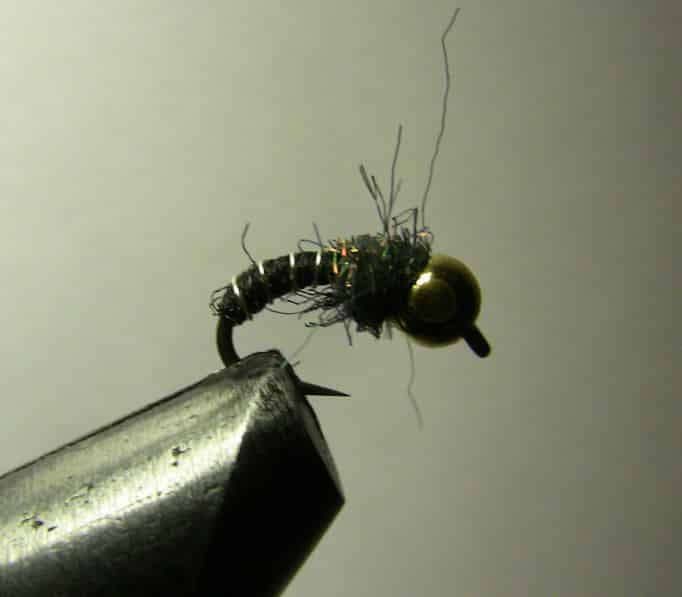 Its mid winter here in Idaho, so what better way to spend the time than tying the Zebra midge fly. These are often some of the most productive fly patterns to use during the winter and they are also very simple. A lot of winter feeding activity is taking place on a river near you and chances are the fish are focusing on midges. There are a lot of different ways to tie the zebra midge, however this one is my favorite. It has not only been very productive for me, but it is super simple and you probably already have most of the materials to tie it.
Mountain whitefish spawn in December and that means trout are stacked up eating their eggs and stuffing their faces with midges in the meantime. Tie on a small egg pattern/zebra midge combo and go put on a show!
Zebra Midge Ingredients
- Hooks- Daiichi 1130 Curved Fly Tying Hooks (#18-24)
- Wire- UTC Ultra Wire – Silver
- Dubbing- Peacock Colored Ice Dub
- Body- Black thread, floss or yarn (I used yarn)
- Bead- Brass or tungsten beads
I ran out of black floss the other day, so I used yarn for the body of this fly. You could also just use black thread easily throughout the fly without floss or yarn. Frankly I’d use whatever you have to make the black body as long as it isn’t too bulky.
Tying this Midge
I doubt you need a whole lot of instruction on tying this fly, but in case you do I’ll post some pics for you.
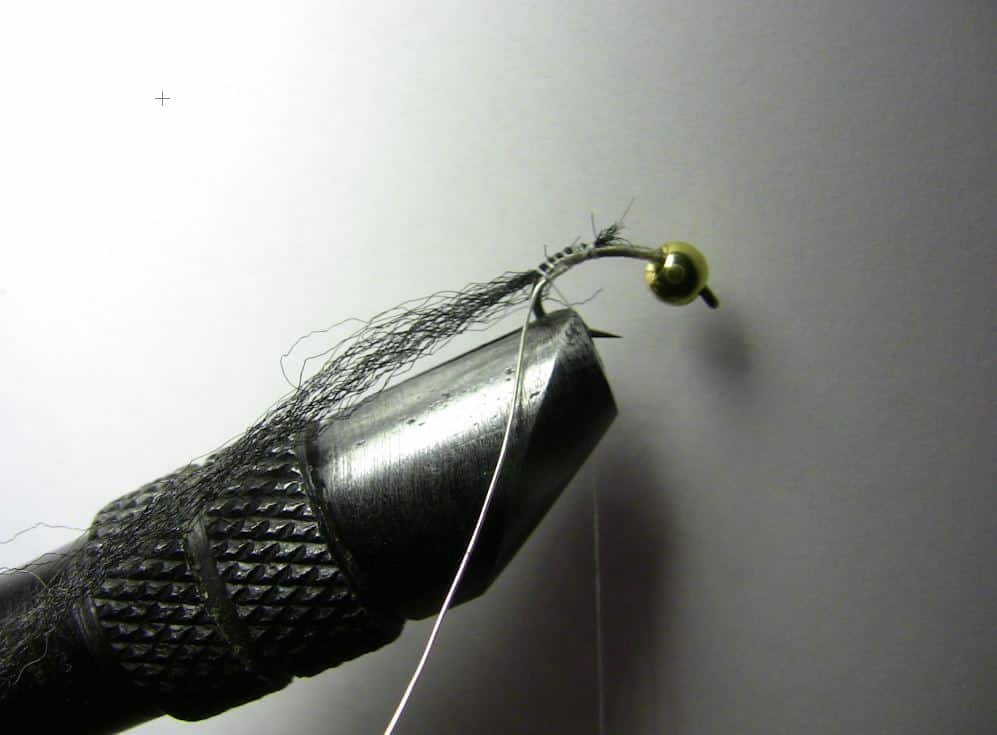
Step #1). Tie in the wire and floss at the back of the hook. I recommend tying it a little ways down the bend of the hook to give the fly the long bent body of a natural midge.
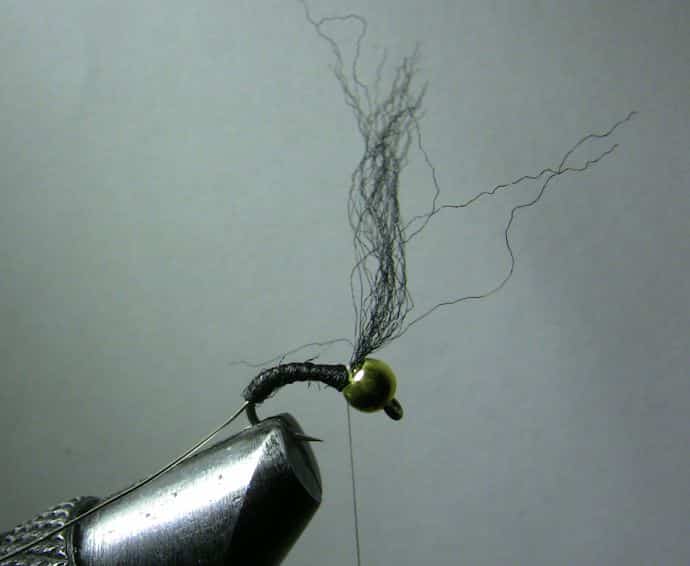
Step #2). Wrap the body material to the back of the bead and trim off the excess.
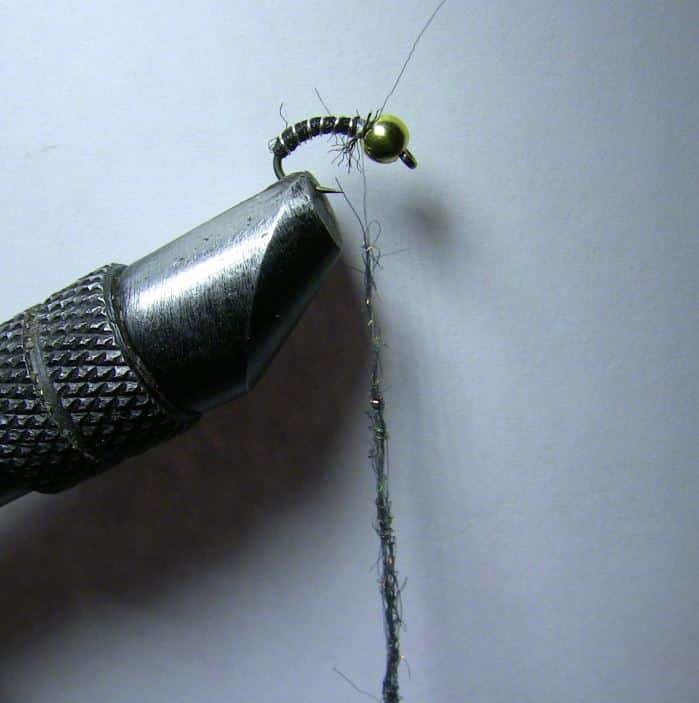
Step #3). Wrap the wire in an even fashion toward the front of the hook and trim off the excess. I have used peacock colored ice dub for the dubbing on the front of the body, but you could also use peacock herl. Red ice dub also looks amazing on this pattern, so if you are looking to tie up a variety of these midges…I would recommend trying some.
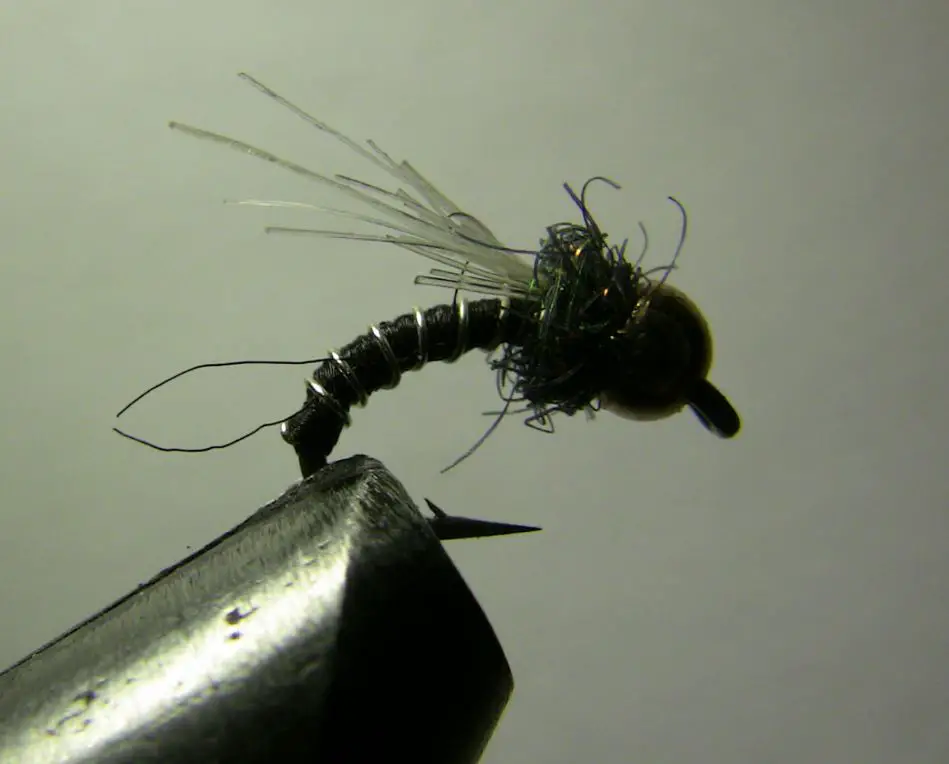
Step #4). Finish the fly by wrapping your dubbing or peacock herl and tie it off.
Now that you’ve learned to tie the zebra midge in black, you can mix it up with different colors and variations. Instead of making a black body, I’d try to tie up a supply in red and purple as well. Also, be sure to make these in multiple sizes. I would try to have at least a few zebra midges of several color combinations in sizes 16-22. Winter trout fishing is often overlooked and it shouldn’t be!
Red Zebra Midge Varieties
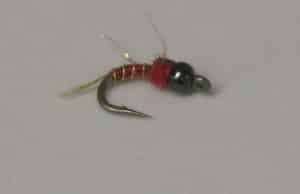
You will find midges on nearly every body of water. They are quite small but fish do feed on them heavily during a good hatch. These nymphs in particular are very effective almost year round for trout. Â Some of the largest trout I caught this year came on a size 18-20 midge that looked very similar to this zebra midge pattern(left).
Materials Needed and Steps to Tying this Midge Fly:
- Peacock Herl
- Red Thread
- Brass bead
- Tinsel or wire (silver wire shown)
- Place the bead on the hook
- Tie the desired color of tinsel/wire to the back of the hook
- Wrap your thread from the rear of the hook towards the front properly covering the hook with it.
- Tie in your peackock herl near the head of the fly but do not wrap it yet. That will be the final step of the fly.
- Now evenly wrap the tinsel towards the front of the fly and tie it off.
- Finish by making the collar of peacock herl and whip finishing.
These flies deserve a place in your fly box. I have caught some seriously nice trout on these all over the country.
