This post was last updated on December 3rd, 2022 at 07:42 pm
Green Caddis Larva Patterns
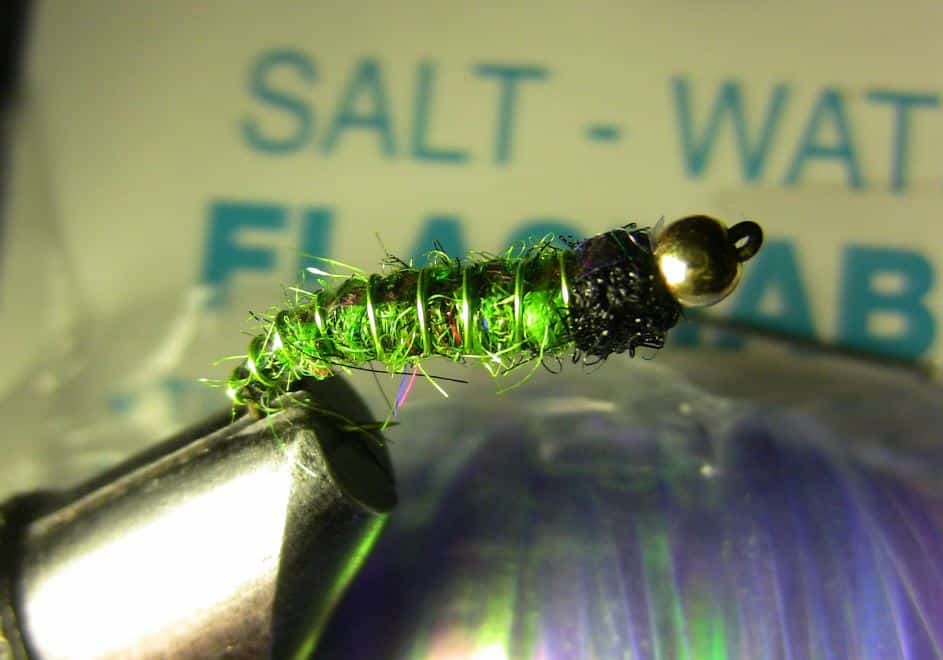
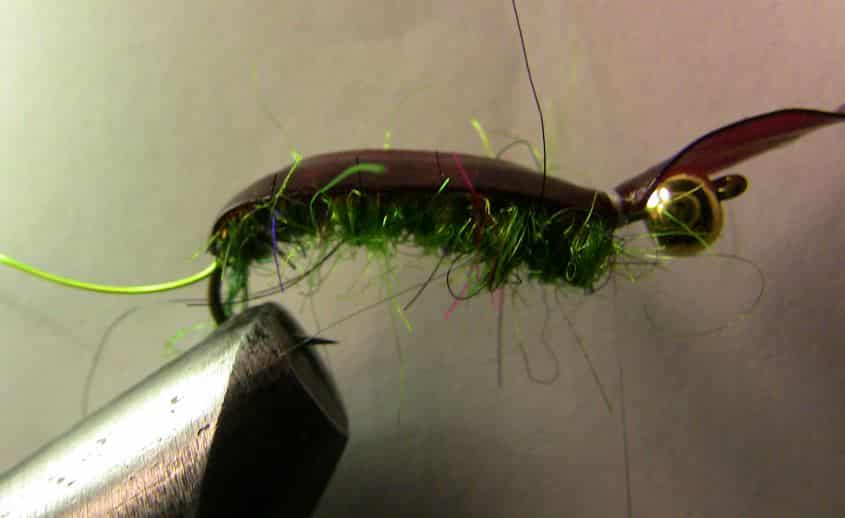
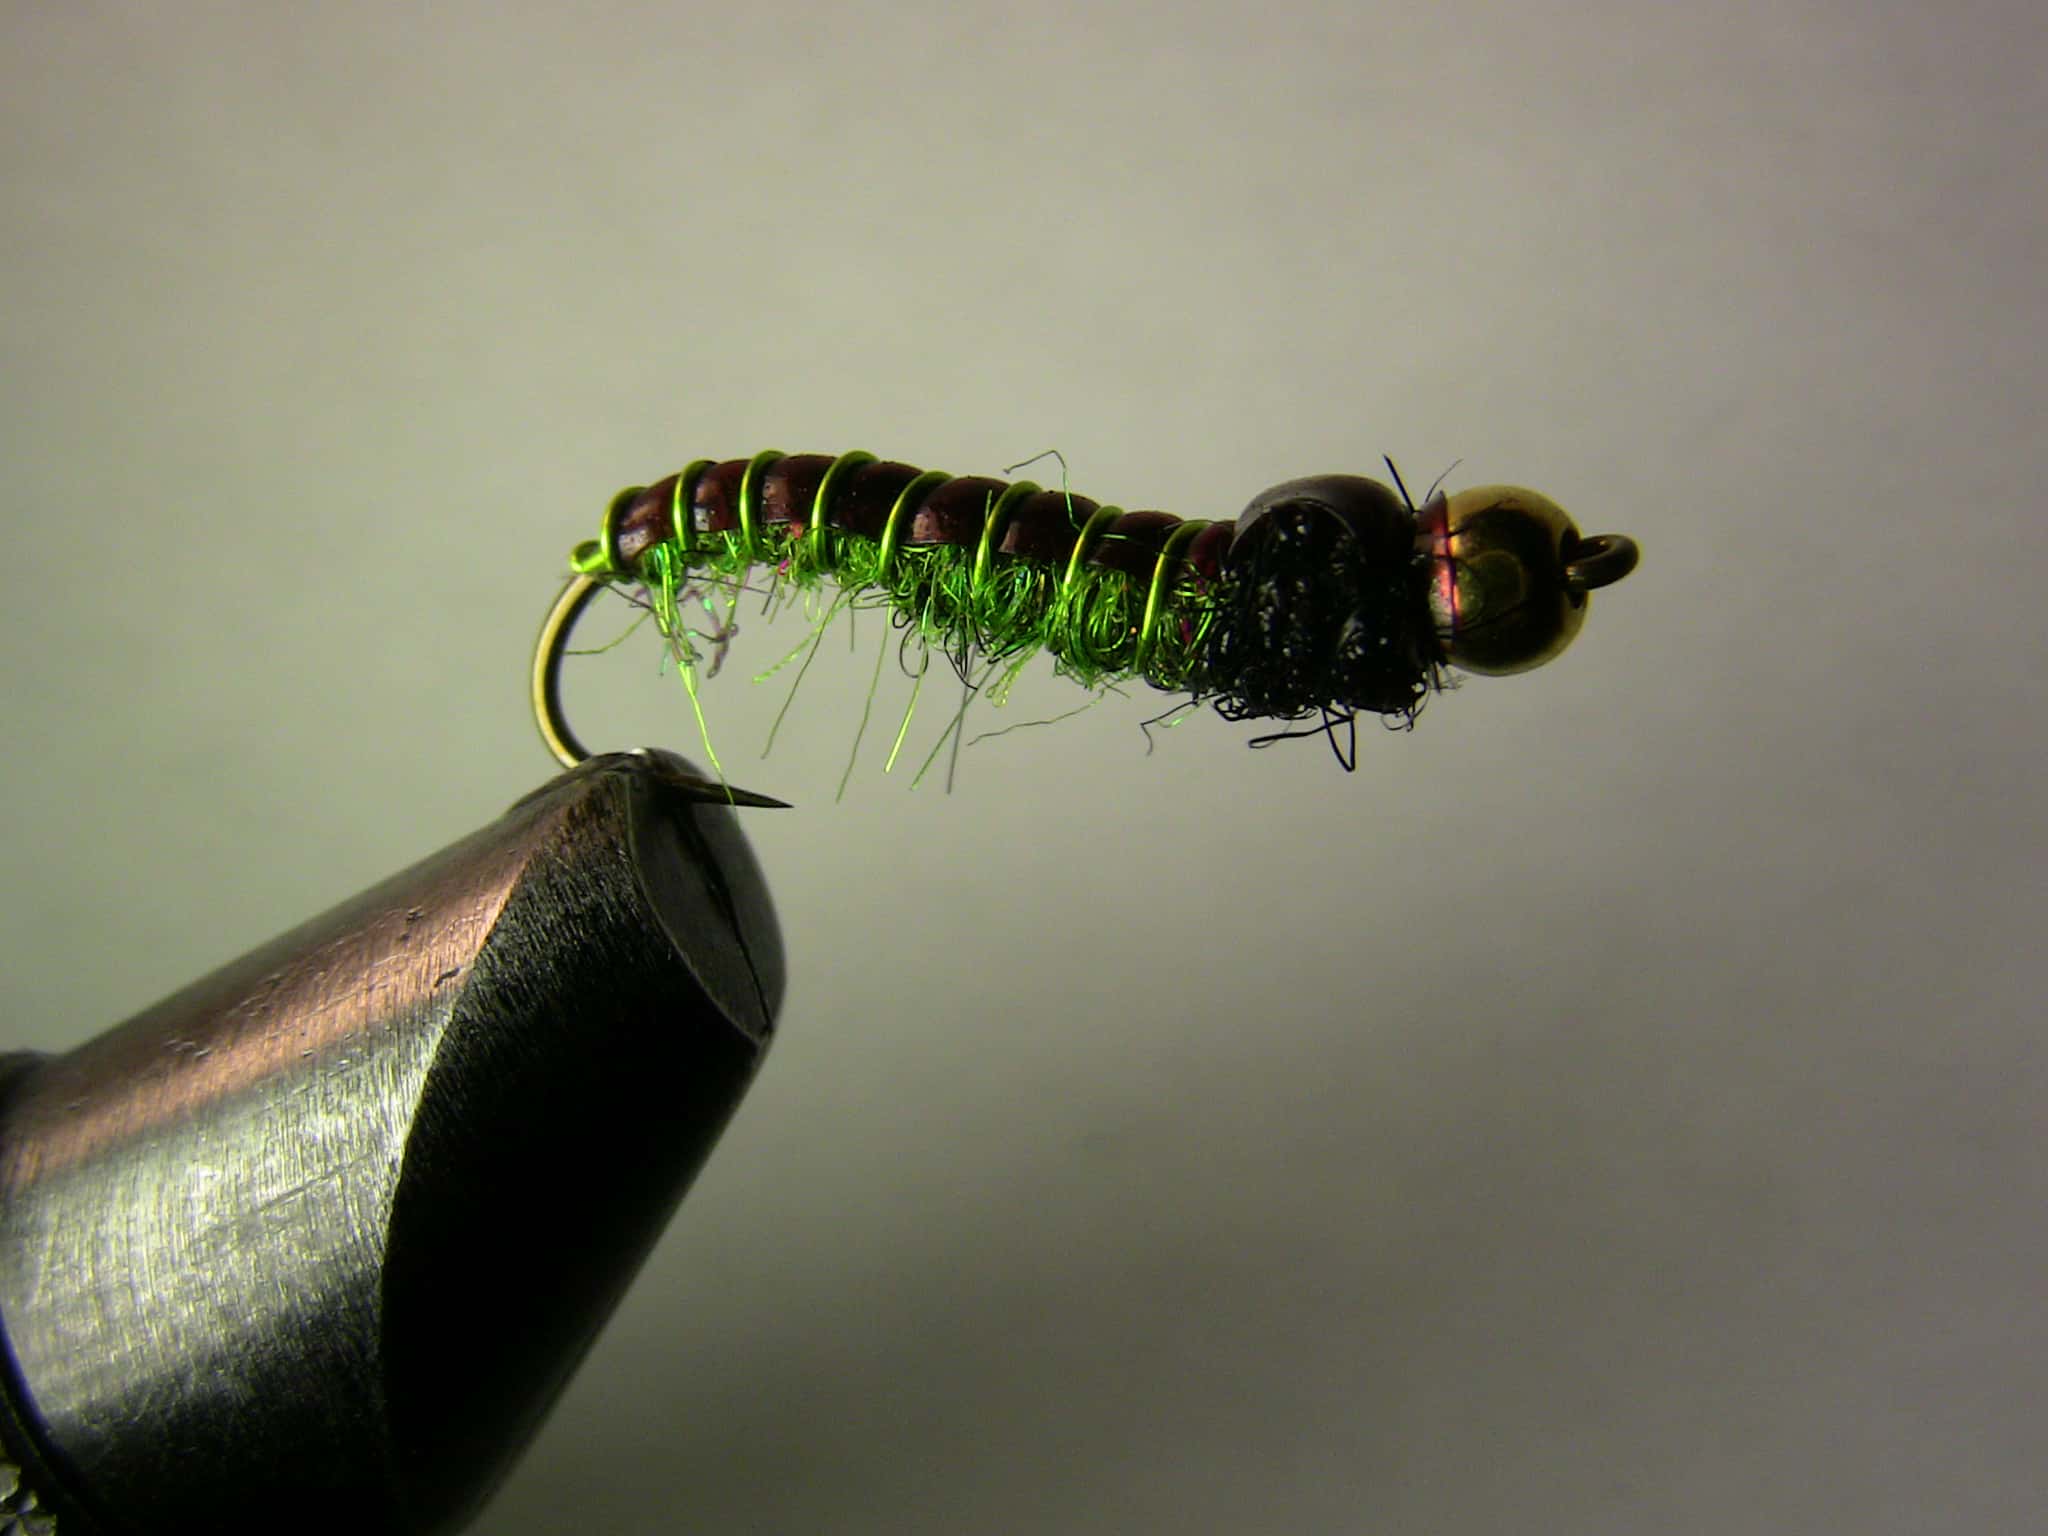 One of the most widely distributed aquatic insects is the caddis. The green caddis larva fly is usually very easy to tie and is an absolute essential in every trout anglers fly box. In this post I’ll show you how I tie one of my personal favorite caddis larvae patterns (above). I will also show you a couple different variations to create several green caddis flies that truly look alive. The fly at the top of this page can be tied in any color configuration to mimic any shade and size of whatever caddis you’re looking to create.
Materials List
- Daiichi #1770 swimming nymph hook
- Scud Shellback – Rainys, Orvis thinskin etc.
- HTC Chartreuse wire for the ribbing
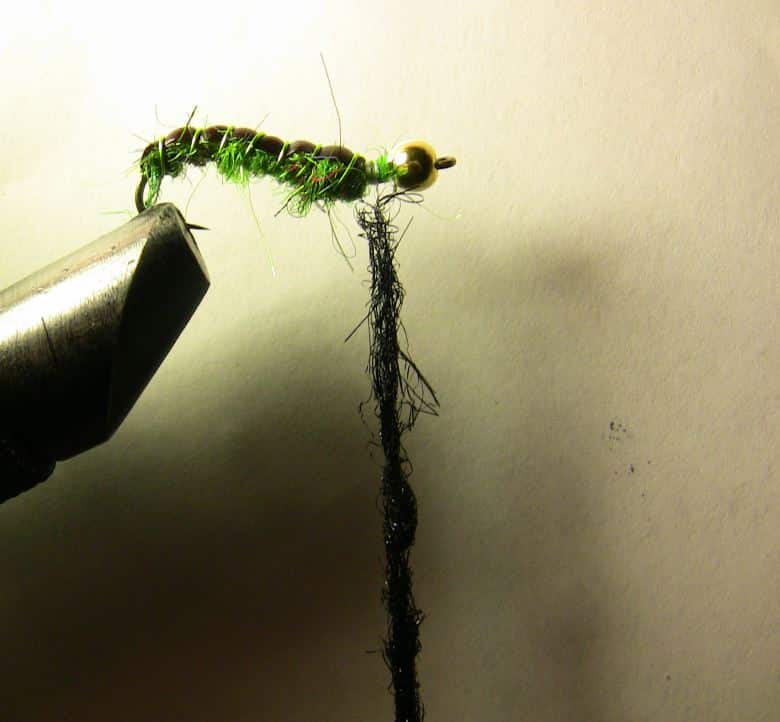
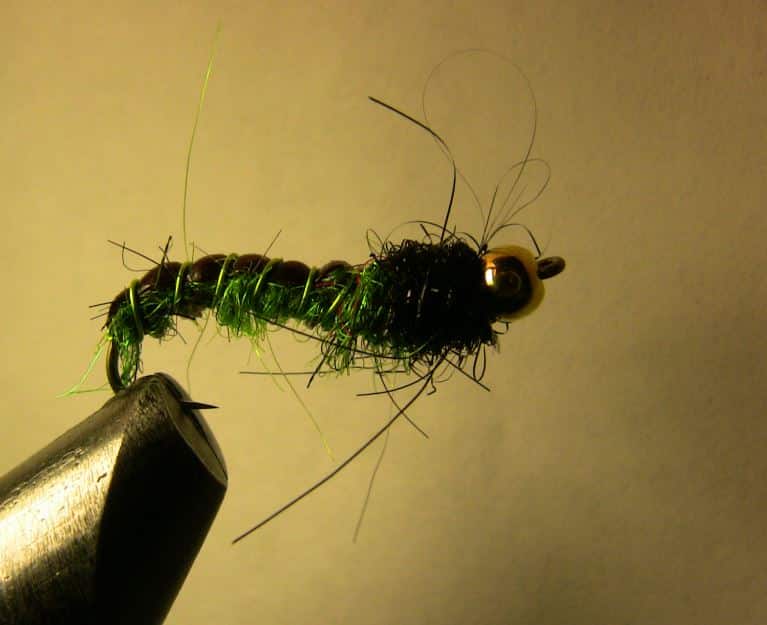
- Ice wing fiber (black) for dubbing the front of the body
- Green caddis Icedub/ Seal-x dubbing
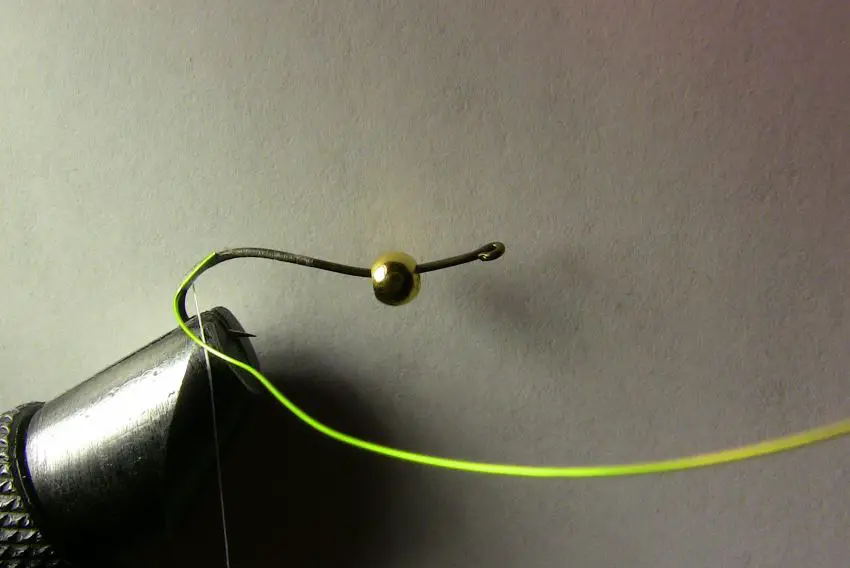
For this caddis, I used seal-x dubbing, but the Hareline Icedub is also a very nice dubbing that I use often for this type of fly. The hook used is a swimming nymph hook which gives a little extra curve to the fly making it look more natural than it would with a straight shank.
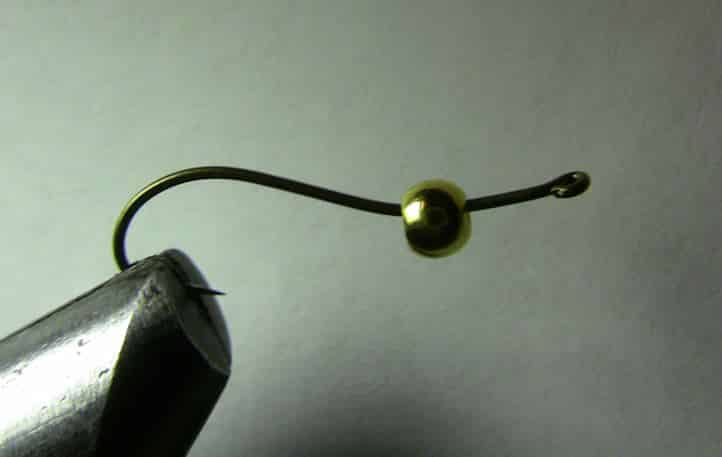
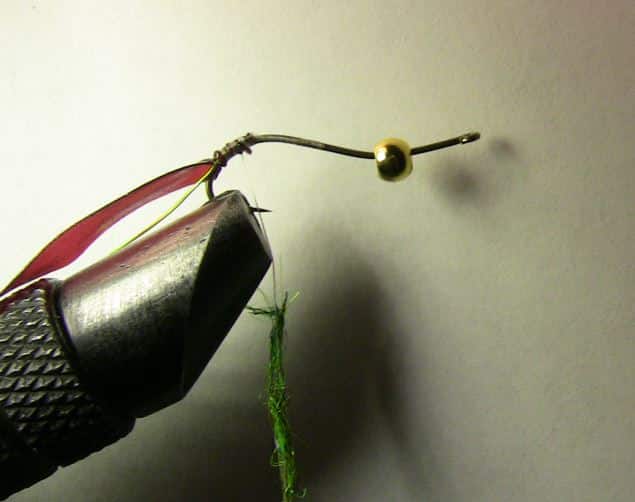
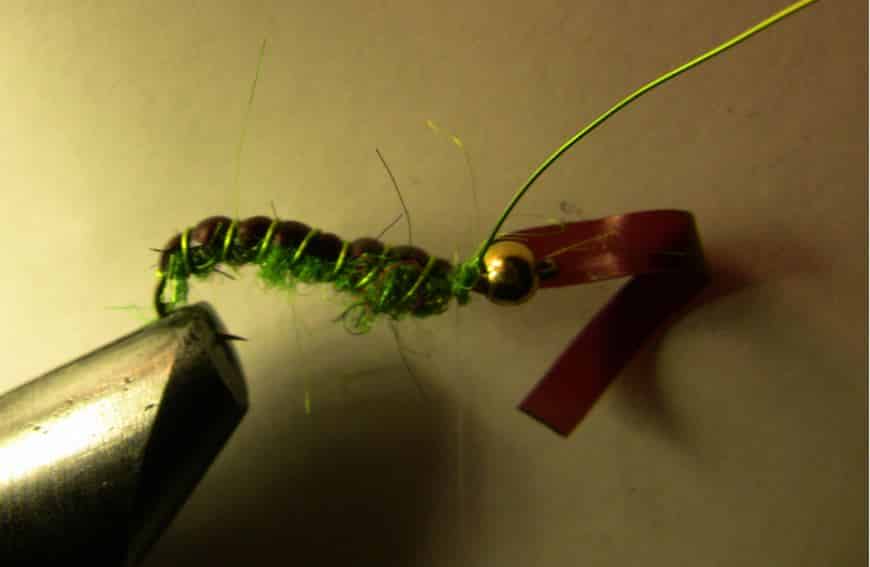
The next step is to attach your thinskin or scudback material to the hook on top of the wire.
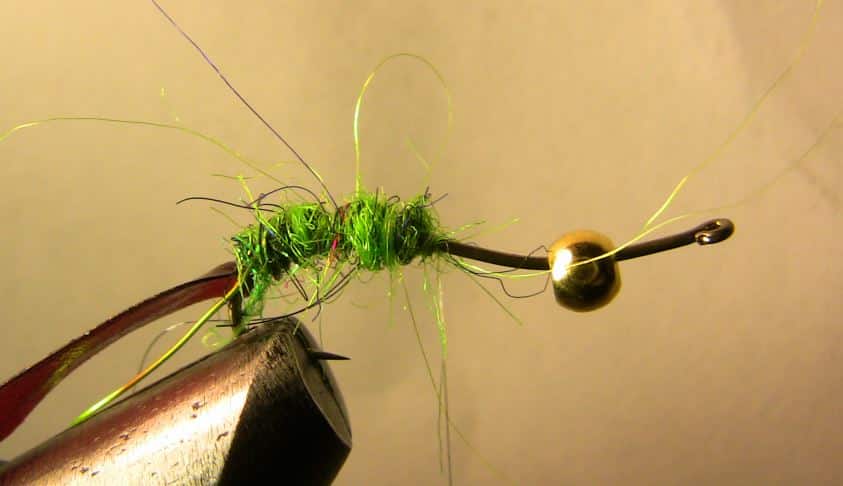
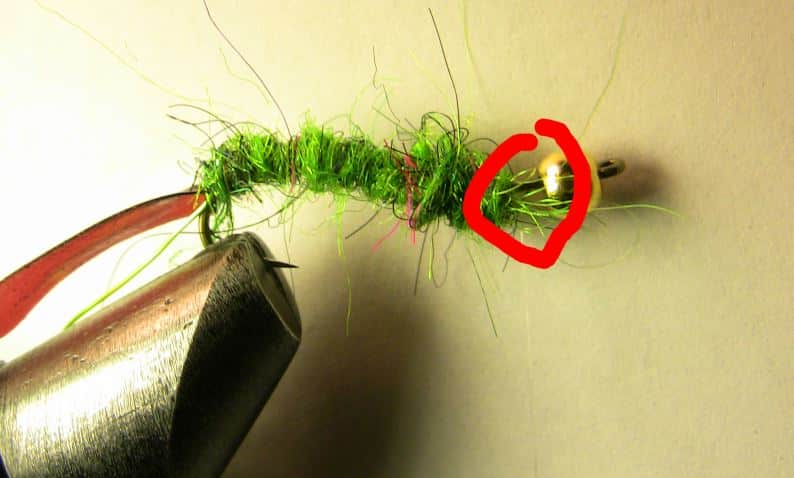
once you’ve installed that, you can begin liberally applying dubbing to your thread. It is OK to tie it semi loosely, because it will end up giving the fly a nice buggy look.
Some other Caddis Options to Consider
